 Guide
GuideHow to Clean LEGO Bricks in Bulk (Safely)
Every big LEGO® collection eventually hits the same wall: a bin of loose bricks that's been sitting in a garage, a basement, or a thrift store box for years, and it's dusty, sticky, or just needs a refresh before it goes back into rotation. Cleaning LEGO in bulk is a different job than wiping down a single minifigure. You're managing hundreds or thousands of pieces at once, and the wrong method can warp thin parts, strip the shine off clear pieces, or peel stickers you were hoping to keep intact.
The good news is that bulk cleaning doesn't require anything special. It's mostly about slowing down, sorting before you wash (not after), and picking water temperatures and drying methods that don't punish the plastic. We've broken this down into the steps that actually matter, plus the parts and materials that need a different plan than the rest of the bin.
If you're staring at a bulk lot from a garage sale or a bin that's been in storage for a decade and searching for how to clean LEGO in bulk without wrecking half of it, this is the process to follow before you sort it into your regular collection.
Sort before you wash, not after
The single biggest mistake in bulk cleaning is dumping everything into water first and sorting later. Once pieces are wet, you can't tell which ones have paper stickers, which ones are printed, and which ones have electronic or light-up components until you've already ruined a few.
Before any water touches the bin, pull out anything that shouldn't get wet at all: pieces with paper stickers (as opposed to printed tiles), any Power Functions or Powered Up electronics (batteries, motors, light bricks, hubs), and anything with a rubber band, string, or fabric element. Those get wiped by hand with a barely damp cloth, never submerged.
Everything else, meaning plain bricks, plates, printed tiles, Technic pieces, and most minifigure accessories, can go into the wash pile. This sorting pass is tedious, but it's the difference between a bin that cleans up nicely and a bin where you've quietly destroyed a few dozen unique pieces.
If the lot is big enough that sorting feels like its own project, do it in stages over a couple of sittings rather than rushing through in one go. A bin of a few thousand loose pieces, which is common with garage-sale lots or an old family collection, takes real time to sort properly, and rushing this step is exactly how a stickered piece slips into the wash pile by accident. Set the questionable pieces aside in their own container as you go, so nothing has to be fished back out of soapy water later.
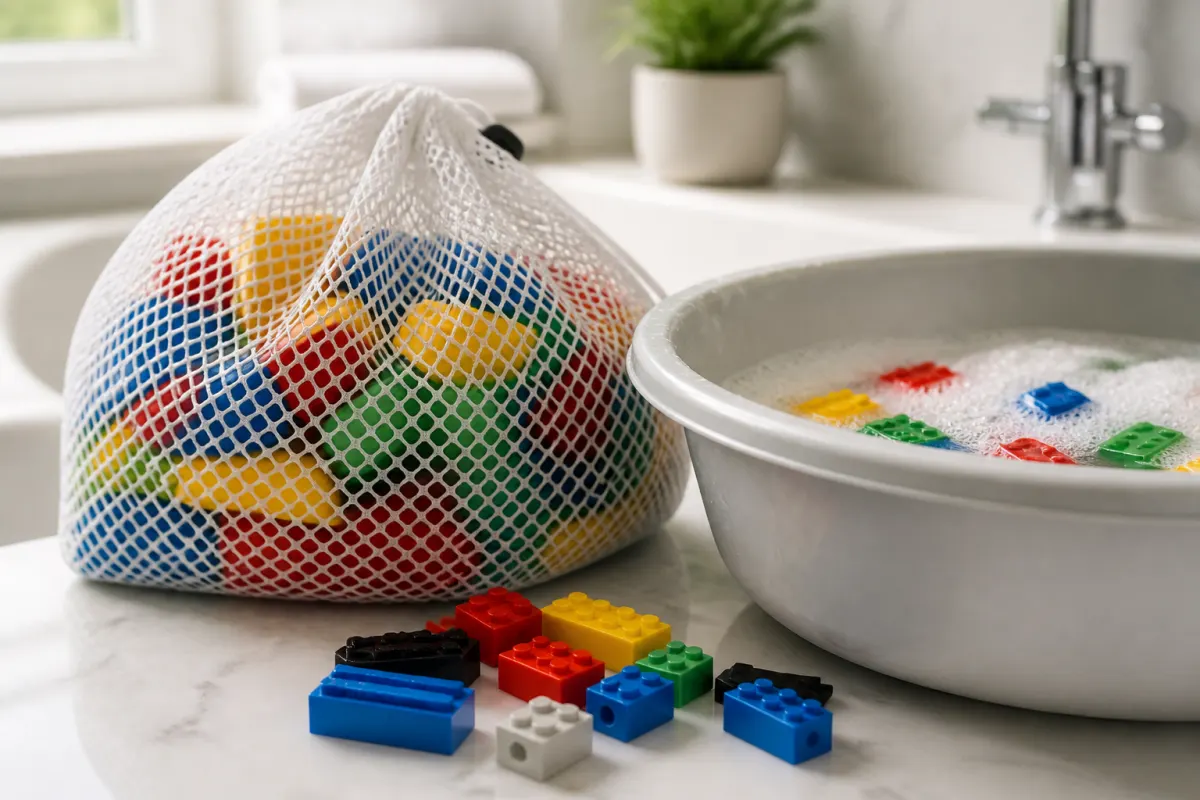
A simple wash station setup
You don't need anything elaborate. Two basins (one for washing, one for a rinse) sitting in a sink or on a folding table works fine for most bulk jobs. Fill the wash basin with lukewarm water and a small amount of dish soap, and keep the rinse basin as plain lukewarm water with no soap at all, so pieces come out without a soapy film that dries as a dull residue.
Work in smaller batches than feels efficient. A basin crammed full of bricks doesn't let water circulate, and pieces at the bottom of an overfull basin barely get touched by the wash at all. Several smaller batches, each given a minute or two of gentle agitation by hand, clean more evenly than one giant batch dumped in all at once.
Water temperature matters more than soap
LEGO plastic (ABS for most parts, and other materials for some accessories) doesn't love heat. Hot water and, worse, a hot dishwasher cycle, can warp bricks just enough that they stop clutching properly, and warped plates are basically unusable. Stick to lukewarm or room-temperature water, never hot.
For soap, plain dish soap in small amounts does the job. You don't need a specialty cleaner. A capful in a large basin of water is plenty. Skip bleach, skip abrasive cleaners, and skip anything with strong solvents. Bleach in particular can yellow or discolor plastic over time, which matters a lot if you care about the pieces looking right on a shelf later rather than just being functionally clean.
A soft brush (an old toothbrush works fine) helps with grime stuck in tube connectors or printed details, but go gentle on anything printed or stickered. Scrubbing hard enough to remove print is scrubbing too hard.
Use mesh bags to keep the wash contained
For true bulk washing, a mesh laundry bag (the kind sold for delicates) is the tool that makes the whole process manageable. Fill bags loosely, not packed tight, so water can actually move through the pieces, and use multiple bags rather than one overstuffed one. Loose bricks tumbling freely in a basin of soapy water get cleaner than a solid brick of pieces sitting still.
Some collectors do run mesh bags through a washing machine on a cold, gentle, no-spin cycle, and plenty report this works fine for plain bricks and plates. We'd still call this the higher-risk option: even a gentle spin cycle puts more mechanical stress on pieces than a hand wash, and it's harder to catch a problem piece before damage is done. If you go this route, keep it to plain, unprinted parts only and skip the dryer entirely afterward.
A basin, a mesh bag, and your own hands moving the bag around in the water gets you most of the benefit with a lot less risk.
Drying: air, not heat
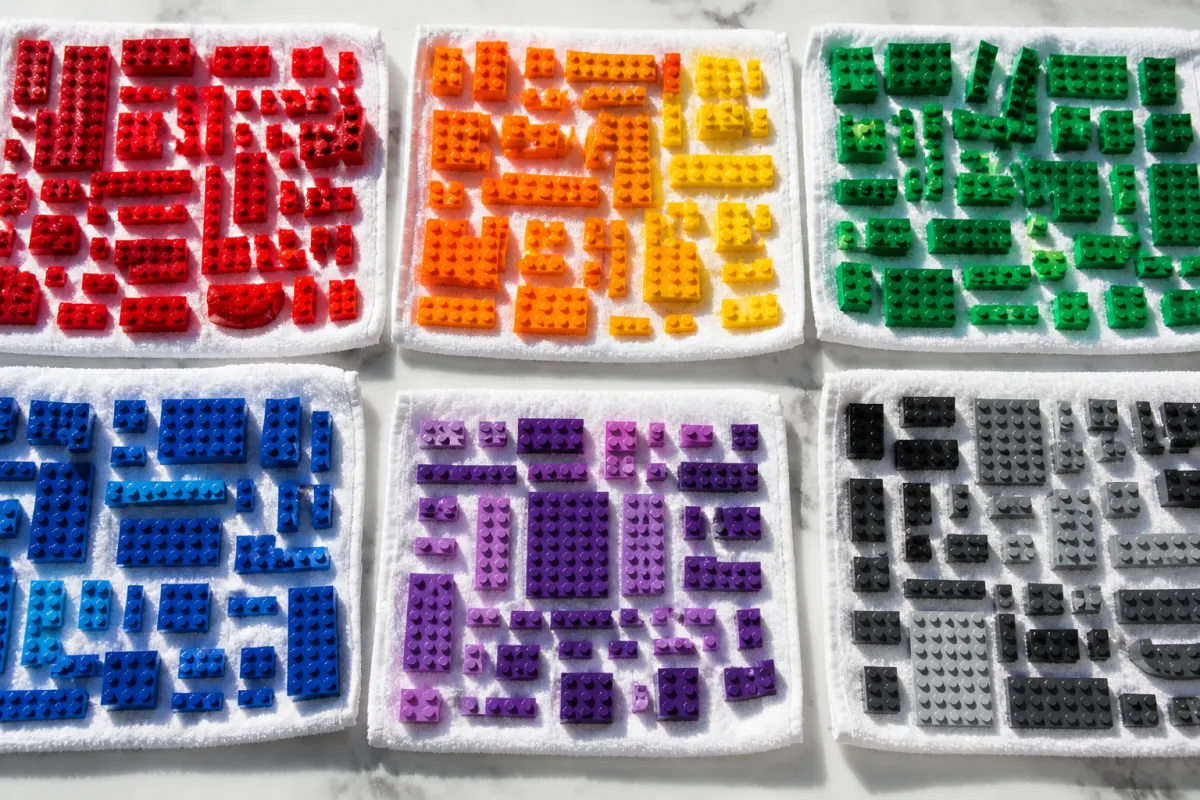
This is where a lot of otherwise careful cleaning jobs go wrong. A hair dryer, a clothes dryer, or leaving bricks in direct sun to dry faster can all warp plastic, and warping is often permanent. The fix is patience: lay pieces out on towels in a single layer, or spread them across a mesh drying rack, and let them air dry at room temperature.
Hollow pieces (bricks and some Technic parts) trap water inside the tube. Give them a gentle shake before laying them out, and expect to check back after a few hours, because water sitting in a tube can take longer to evaporate than the surface suggests. A stray drop left in a tube for days is how a mildew smell shows up weeks later in a storage bin.
A single layer matters more than it sounds like it should. Pieces piled two or three deep on a towel trap moisture between them, and the bottom layer can stay damp long after the top layer looks bone dry. If you're working with a genuinely large lot, several towels spread across a table or floor beats one crowded pile every time, even if it eats up more space for a day.
Budget more drying time than feels necessary, especially for a bin this size. Rushing the drying step is usually where damage happens, not the washing itself. A full day of air drying before pieces go back into a sealed bin is a reasonable default, and longer for anything with deep tubes or joints.
Special cases: stickers, prints, and electronics
Printed pieces (where the design is baked into the plastic, not applied as a sticker) generally tolerate a gentle wash fine, since the print is part of the piece rather than sitting on top of it. Stickered pieces are a different story: paper stickers lift, bubble, or peel with almost any moisture, so those get a dry brush or a barely damp wipe at most, never a soak.
Electronic pieces (Power Functions, Powered Up, light bricks, anything with a battery compartment) should never go near water. Wipe the housing with a dry or barely damp cloth and leave it at that. If a piece has any doubt attached to it, water or electronics, treat it as a hand-wipe piece rather than risk a wash pile.
Minifigures deserve their own separate, gentler pass: heads and torsos with printed detail can be hand washed in the same lukewarm soapy water, but avoid scrubbing printed faces directly. Hair pieces and accessories are usually safe for a quick rinse.
What to do once everything's dry
Once a batch of pieces is fully dry (truly dry, not just surface-dry), this is the natural point to sort by color, size, or piece type rather than dumping everything back into one bin. A clean bulk lot is also a good moment to check for cracked pieces, stress marks, or clutch power that's gone soft, since those are easier to spot on clean plastic than on years of grime.
If part of the goal was reviving a lot for resale or for building a specific set, this is also when missing piece gaps tend to show up clearly. Clean pieces make gaps obvious in a way a dusty bin never does.
Storage after cleaning matters too. Pieces that go straight from a drying towel into a sealed plastic bin, even a day or two early, can trap residual moisture and start to smell musty over time. Give a bin a longer open-air stretch than you think it needs, and if you're not fully confident everything's dry, leave the bin lid cracked for the first week rather than sealing it right away.
Bulk cleaning LEGO comes down to sorting before you wash, keeping the water lukewarm instead of hot, and letting pieces air dry completely before they go back in a bin. Skip water entirely on stickers and electronics, and treat drying time as the step worth being patient about. Do that and a grimy inherited lot or a dusty storage bin comes back looking, and clutching, like new.
Common questions
Can I put LEGO bricks in the dishwasher?
We wouldn't recommend it. Dishwasher heat and drying cycles run hotter than what's safe for the plastic, and printed or stickered pieces won't survive a full cycle. Hand washing in lukewarm water takes longer but protects the pieces you actually care about keeping.
Will washing remove yellowing from old LEGO bricks?
No. Yellowing in older ABS plastic is a chemical change from years of UV exposure, and a wash won't reverse it. Some collectors use dedicated whitening treatments for that specific problem, but that's a separate process from routine cleaning and carries its own risks to the plastic.
How do I clean LEGO minifigures without damaging the prints?
Hand wash in lukewarm soapy water with a soft cloth, and avoid direct scrubbing on printed faces or torsos. A soft brush is fine for grime in joints and connection points. Skip the mesh bag and washing machine route for minifigures specifically, since loose parts and printed heads are easy to lose or scuff.
Is it safe to soak LEGO bricks overnight?
A shorter soak (an hour or so) in lukewarm soapy water is generally fine for plain, unstickered, non-electronic pieces. An overnight soak isn't necessary for most grime and just adds more time for water to sit in hollow tubes, meaning more drying time afterward without much extra cleaning benefit.